We were getting below error on checking
# /etc/init.d/mysqld status
ERROR! MySQL is running but PID file could not be found
On trying to restart were getting below error
root@alpha [~]# /scripts/restartsrv_mysql
Waiting for “mysql” to restart …………
…failed.
Service Error
The “mysql” service failed to start.
Startup Log
Starting MySQL………… SUCCESS!
Log Messages
150627 23:53:37 mysqld_safe mysqld restarted
150627 23:53:37 mysqld_safe Number of processes running now: 0
150627 23:53:37 mysqld_safe mysqld restarted
150627 23:53:37 mysqld_safe mysqld restarted
150627 23:53:37 mysqld_safe Number of processes running now: 1
150627 23:53:37 mysqld_safe mysqld process hanging, pid 16496 – killed
150627 23:53:37 mysqld_safe mysqld process hanging, pid 16501 – killed
150627 23:53:37 mysqld_safe Number of processes running now: 2
/usr/sbin/mysqld[0x84cbc2]
/usr/sbin/mysqld[0x857c7a]
/usr/sbin/mysqld[0x91b362]
/usr/sbin/mysqld[0x9267d2]
/usr/sbin/mysqld[0x85942b]
/usr/sbin/mysqld[0x858f82]
150627 23:53:36 mysqld_safe mysqld restarted
mysql has failed. Contact your system administrator if the service does not automagically recover.
The error was due to corruption in innodb in server
We found the below fix successful to fix this issue
First make backup of my.cnf file as backup.my.cnf
Open the mysql configuration file my.cnf which is in
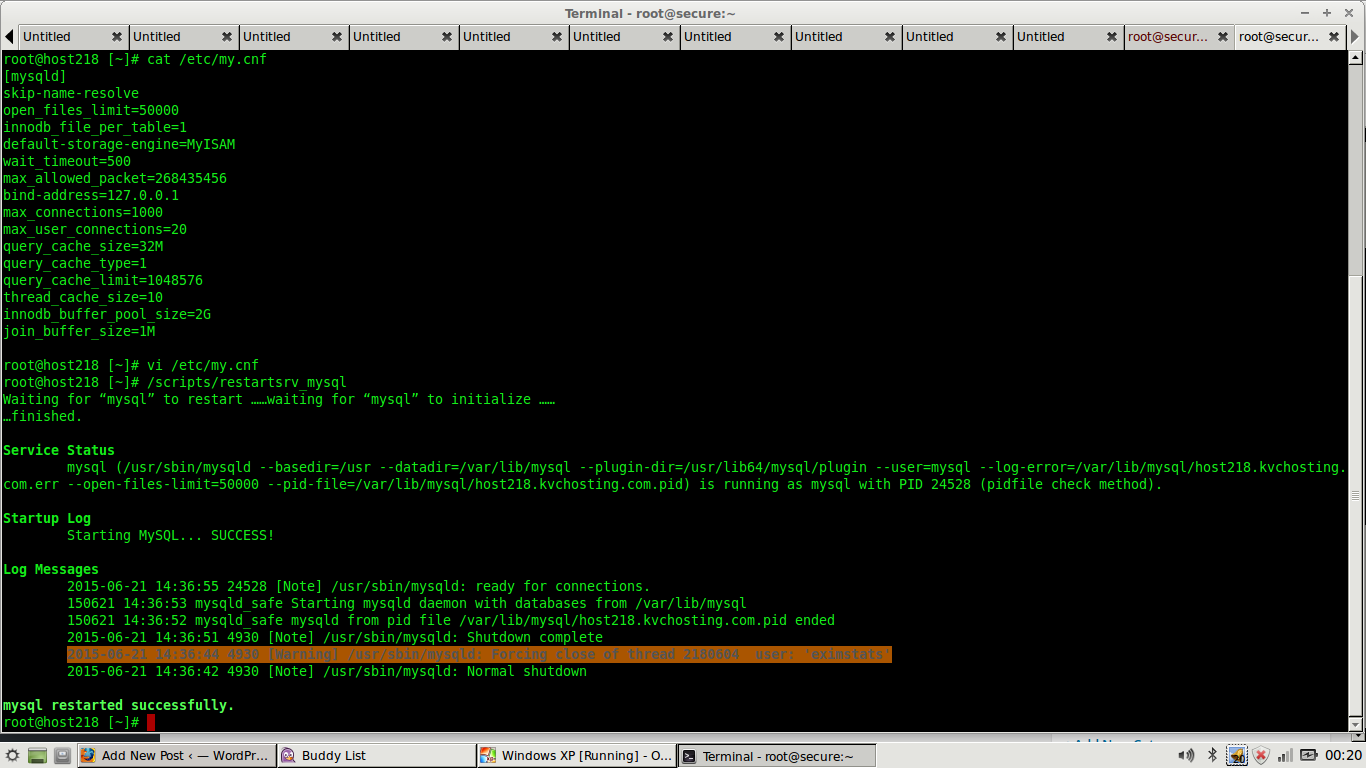
root@alpha [~]# vi /etc/my.cnf
Add below entry in it
[mysqld]
innodb_force_recovery = 1
restart Mysql using below command in cpanel server
root@alpha [~]# /scripts/restartsrv_mysql
Waiting for “mysql” to restart ……waiting for “mysql” to initialize ……
…finished.
Service Status
mysql (/usr/sbin/mysqld –basedir=/usr –datadir=/var/lib/mysql –plugin-dir=/usr/lib64/mysql/
Startup Log
Starting MySQL.. SUCCESS!
Log Messages
150628 0:03:54 [Note] /usr/sbin/mysqld: ready for connections.
150628 00:03:53 mysqld_safe Starting mysqld daemon with databases from /var/lib/mysql
150628 00:03:53 mysqld_safe mysqld from pid file /var/lib/mysql/alpha.redlogic.
150628 0:03:53 [Note] /usr/sbin/mysqld: Shutdown complete
150628 0:03:52 [Warning] /usr/sbin/mysqld: Forcing close of thread 119 user: ‘eximstats’
150628 0:03:50 [Note] /usr/sbin/mysqld: Normal shutdown
150627 23:56:34 [Note] /usr/sbin/mysqld: ready for connections.
150627 23:56:33 mysqld_safe mysqld from pid file /var/lib/mysql/alpha.redlogic.
150627 23:56:33 [Note] /usr/sbin/mysqld: Shutdown complete
150627 23:56:29 [Warning] /usr/sbin/mysqld: Forcing close of thread 1 user: ‘eximstats’
150627 23:56:29 [Warning] /usr/sbin/mysqld: Forcing close of thread 5 user: ”
150627 23:56:27 [Note] /usr/sbin/mysqld: Normal shutdown
mysql restarted successfully.
root@alpha [~]# mysql
Welcome to the MySQL monitor. Commands end with ; or \g.
Your MySQL connection id is 6
Server version: 5.5.42-cll MySQL Community Server (GPL)
Copyright (c) 2000, 2015, Oracle and/or its affiliates. All rights reserved.
Oracle is a registered trademark of Oracle Corporation and/or its
affiliates. Other names may be trademarks of their respective
owners.
Type ‘help;’ or ‘\h’ for help. Type ‘\c’ to clear the current input statement.
mysql> quit
Bye
root@alpha [~]#
Mysql was up and running now
innodb_force_recovery=1
skip-grant-tables